
Get your free access key
Sign up at splitforms.com/login. Every form gets its own access key on the Free plan — 500 submissions total, unlimited forms, no credit card.
HTML form endpoint
An HTML form endpoint is a URL that receives your form submissions. Point any form at https://splitforms.com/api/submit and get storage, spam filtering, and email notifications — no backend to build.

The endpoint accepts JSON, URL-encoded, and multipart form data — from native HTML forms or a JavaScript fetch.
Honeypot, time-trap, and server-side heuristics screen bots before your inbox. Optional reCAPTCHA v2.
Owner notifications are free on every plan. Each submission is stored in a searchable dashboard and can fire signed webhooks.
Minimal working example
This minimal form posts to the splitforms endpoint. Learn about the action attribute and method attribute in our guide. Test your endpoint with the form action tester.
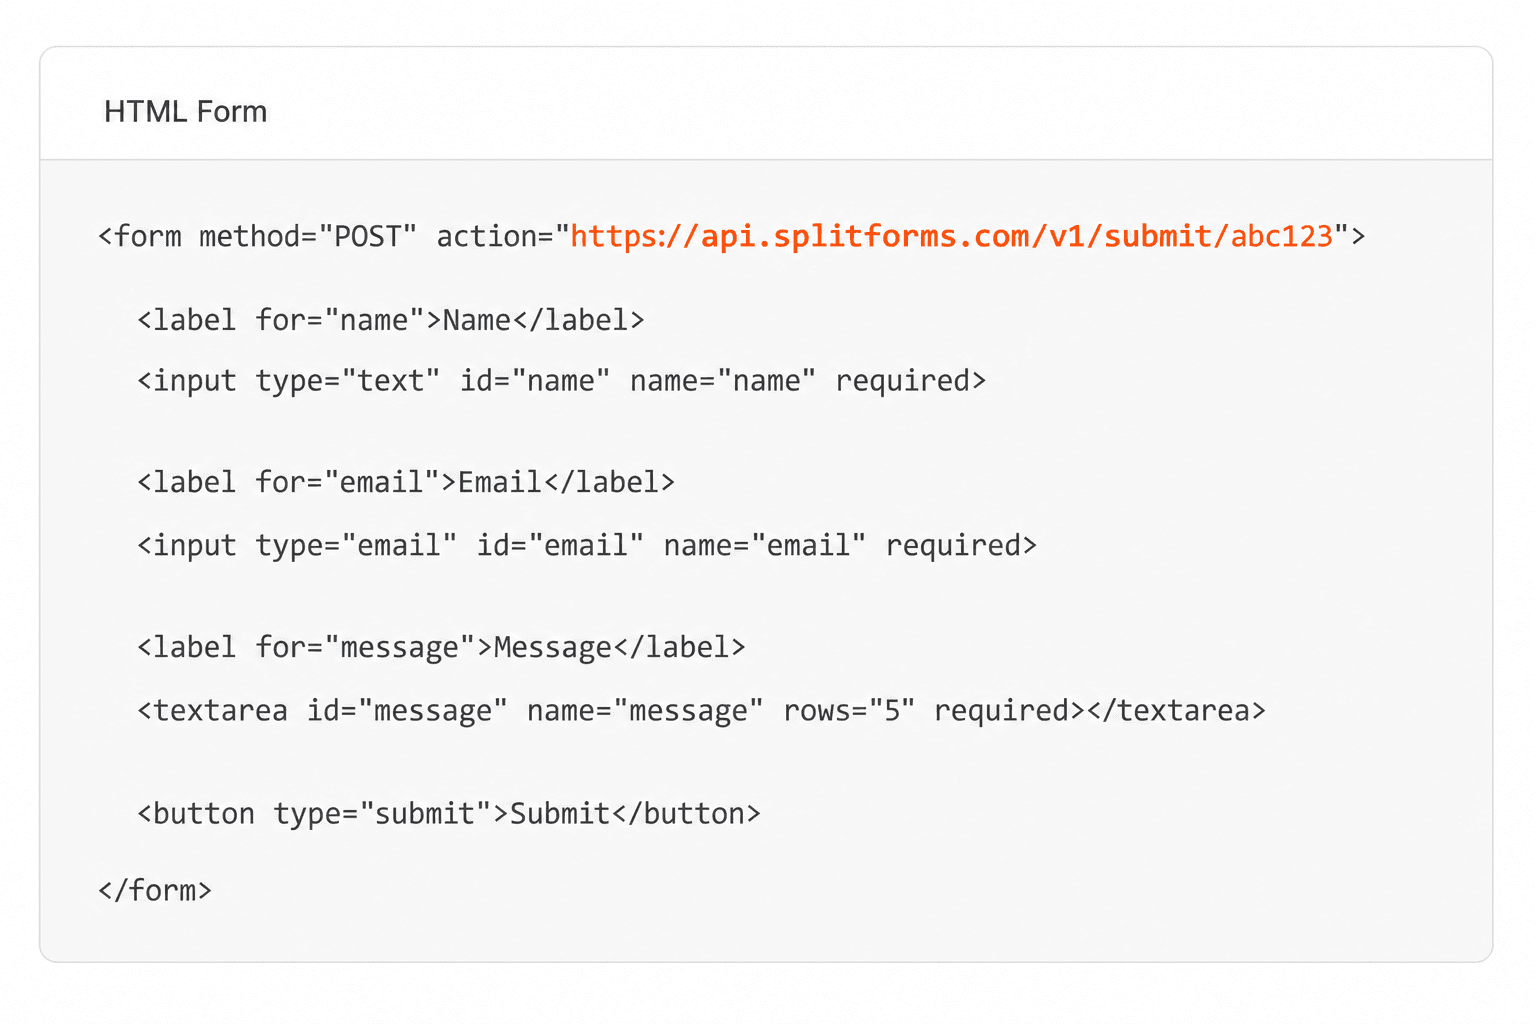
<form action="https://splitforms.com/api/submit" method="POST">
  <input type="hidden" name="access_key" value="YOUR_ACCESS_KEY">
  <input name="name" type="text" placeholder="Name" required>
  <input name="email" type="email" placeholder="Email" required>
  <textarea name="message" placeholder="Message" required></textarea>
  <button type="submit">Send</button>
</form>
Setup
No server, no SMTP setup. The same steps whether you paste the form into raw HTML, a React component, or a WordPress custom-HTML block.
Sign up at splitforms.com/login. Every form gets its own access key on the Free plan — 500 submissions total, unlimited forms, no credit card.
Set action="https://splitforms.com/api/submit" and method="POST" on your <form> tag, then add access_key as a hidden field with your key as the value.
Include a hidden botcheck input that must stay empty. Bots fill every field, including hidden ones; humans never see it. Any submission where it's filled in gets rejected.
Add a hidden form_loaded_at field set to a timestamp when the page loads. splitforms uses the gap between load and submit to catch instant bot fills.
Add subject for a custom notification email subject, redirect for a post-submit thank-you URL, or replyto to set the reply-to address — no code required for any of them.
Fill out the form yourself. Accepted submissions are saved in your SplitForms dashboard before owner notification email is attempted on every plan; delivery time and inbox placement depend on provider and recipient settings.
How form submission works
The browser's native POST sends your form data to the endpoint. splitforms validates the access key, filters spam, stores the submission, and sends you an email notification.
Test your form
The form action tester checks endpoint reachability, HTTP status codes, CORS headers, and POST support — all from your browser without submitting actual form data. For real submissions, just fill out your form and check your dashboard.
How SplitForms works
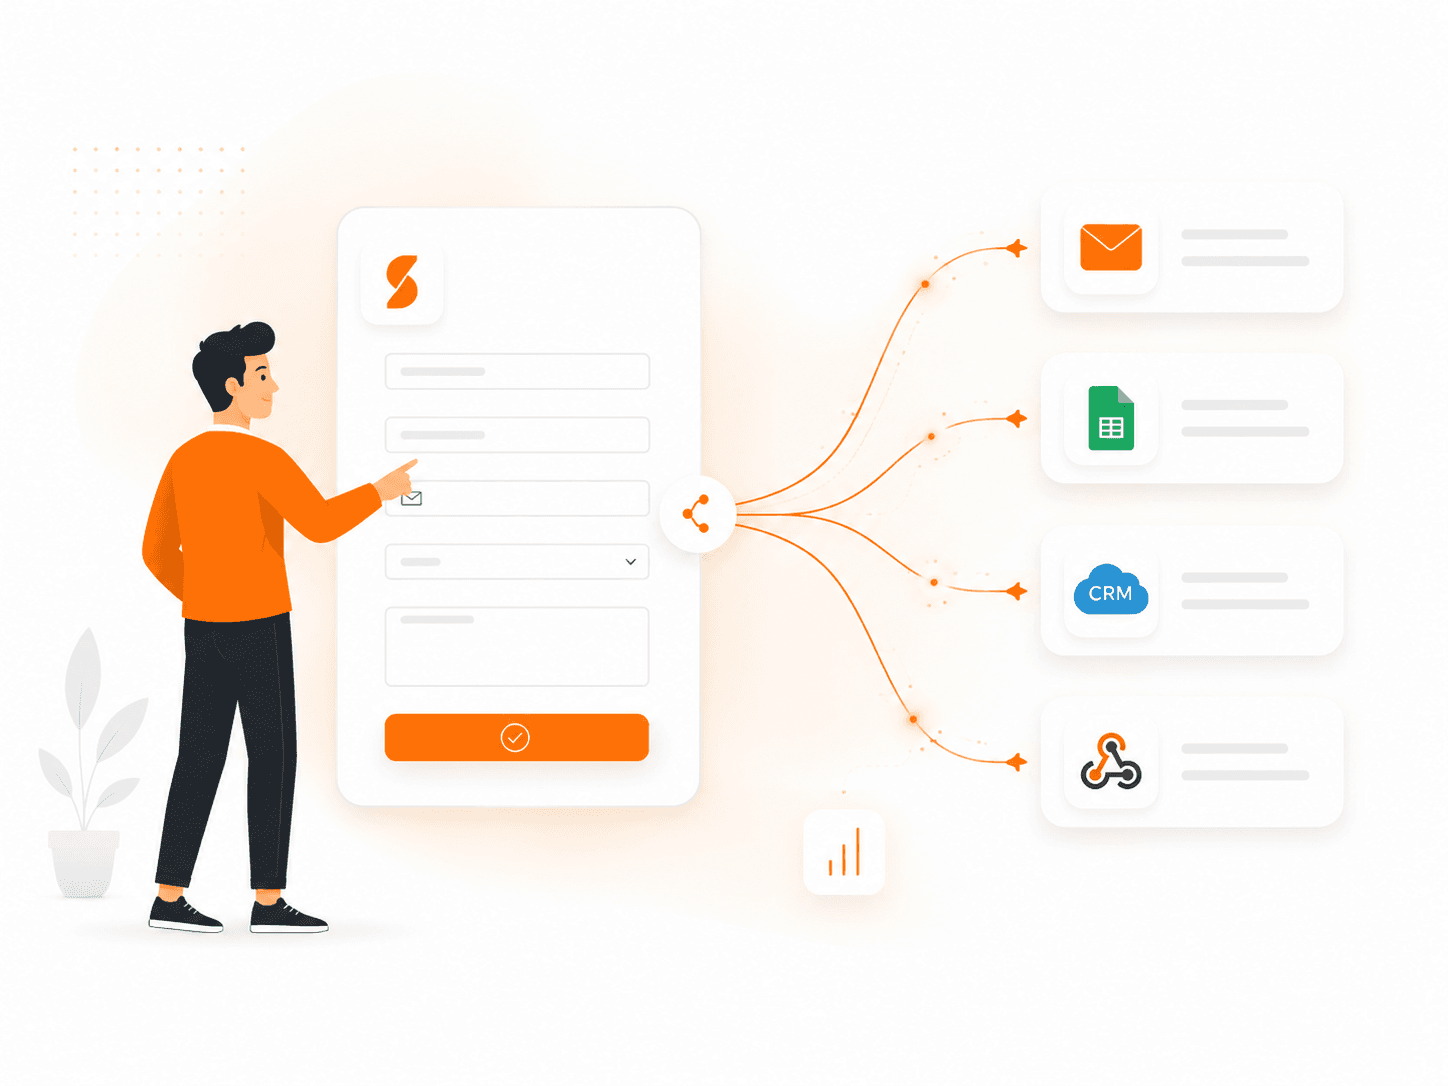
splitforms receives the submission, filters spam, saves it to your dashboard and emails you — then, on paid plans, sends it on to your webhooks and integrations. No backend infrastructure to build.
Point your form to your unique SplitForms endpoint. That's it.
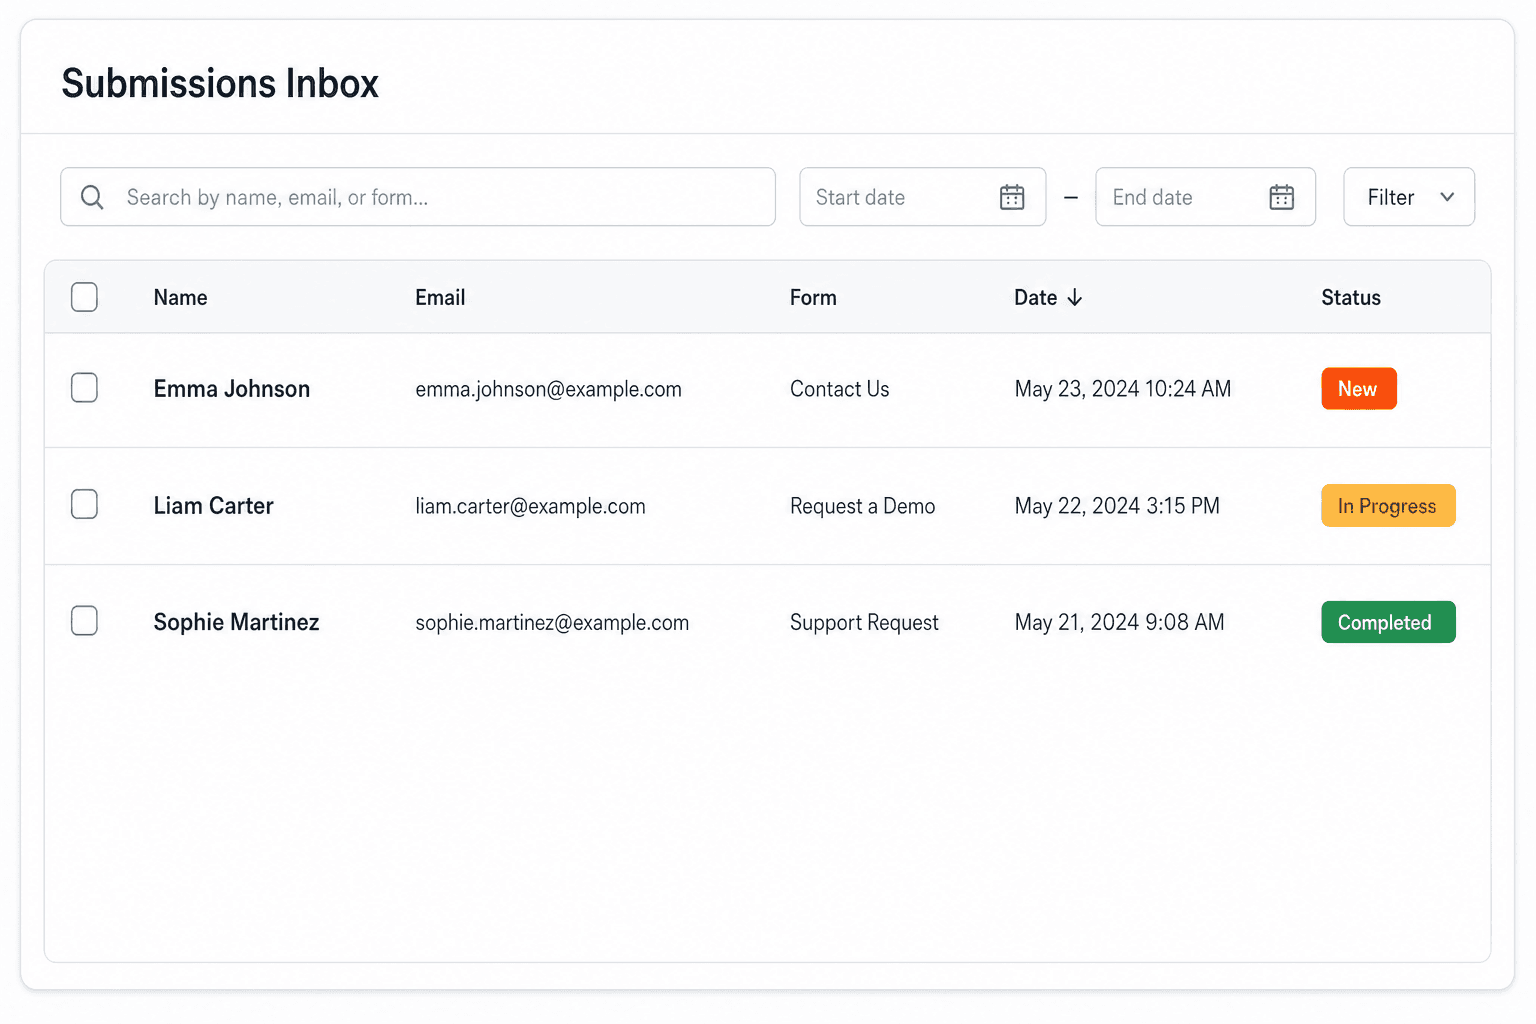
We instantly capture and organize every submission in your inbox.
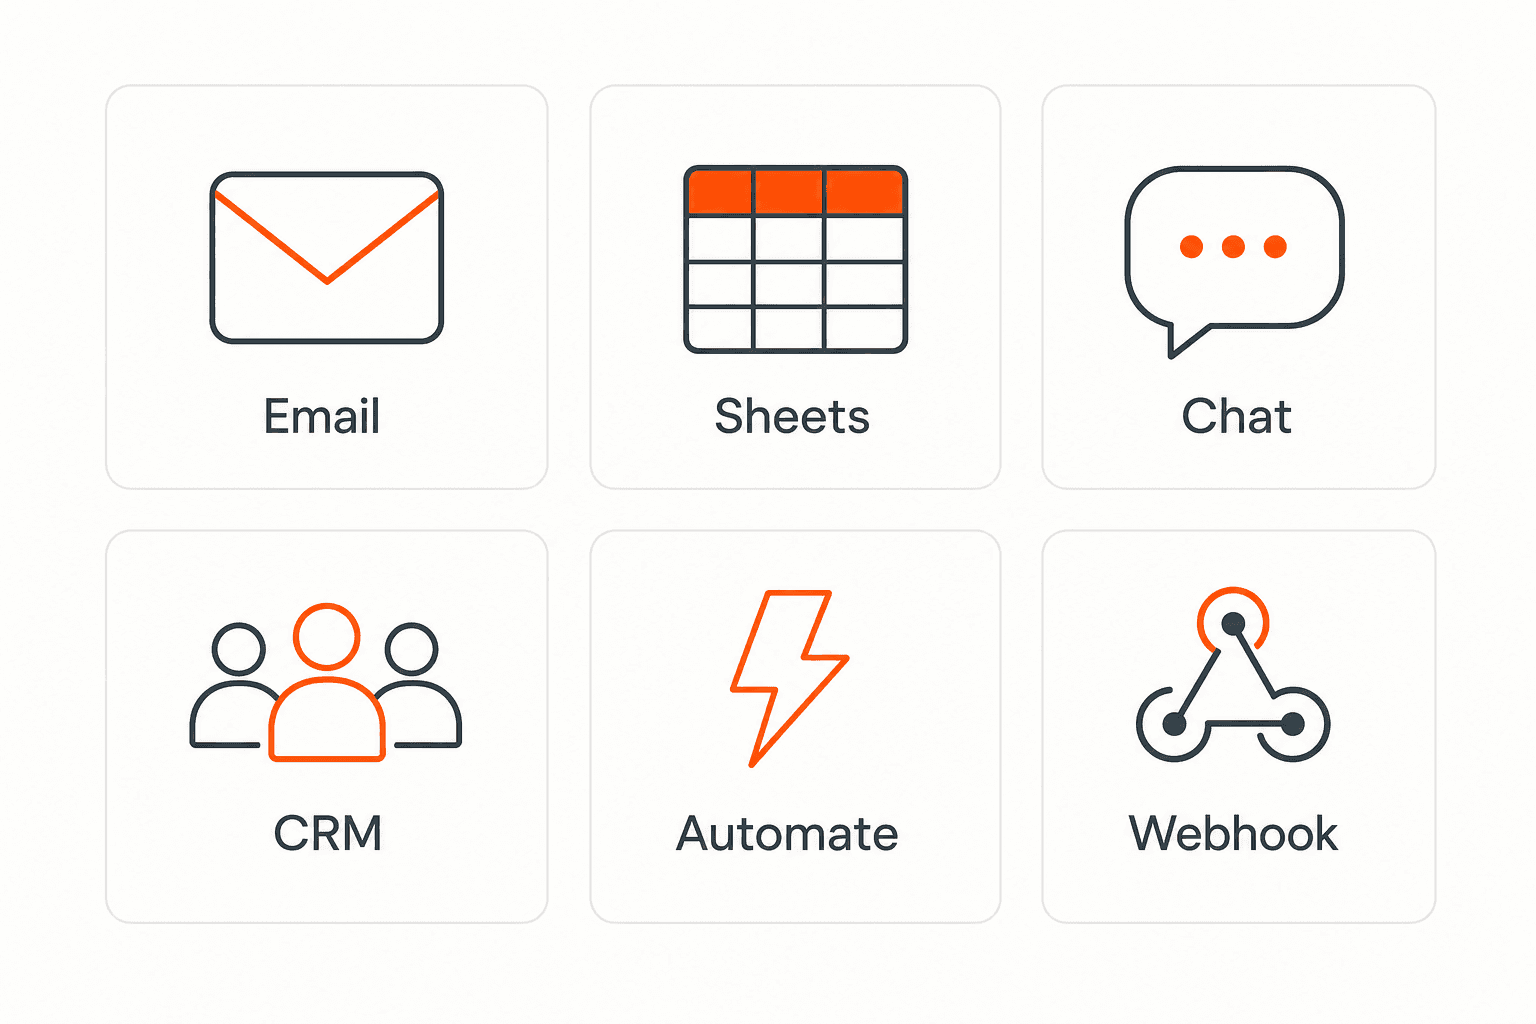
Send data to email, spreadsheets, CRMs, webhooks, and 7,000+ apps.
No credit card required. Set up in under 60 seconds.
Connect & automate
On paid plans, submissions can also go to Slack, Discord, Google Sheets, Notion, Airtable, Zapier or any signed webhook — and splitforms works on the platforms you build on, from WordPress and Shopify to Next.js. With Stripe connected, your forms can take payments too.

 NewTake payments on your formsDeposits, bookings, order forms — submitters check out through Stripe and the money goes straight to your Stripe account. Included on every paid plan.See payment forms →Need time slots? Online booking →
FAQ
An HTML form endpoint is a URL that receives HTTP POST requests from HTML forms. Instead of writing server-side code, you add the endpoint URL to your form's action attribute. The endpoint handles storage, email notifications, spam filtering, and optional webhooks.
Add the endpoint URL to your form's action attribute (action="https://splitforms.com/api/submit"), set method="POST", add a hidden access_key field with your key, and include the honeypot and time-trap fields for spam protection. That's the entire setup.
Yes. The endpoint is the URL that receives POST requests; the form's action attribute is where you put that URL. Setting action="https://splitforms.com/api/submit" on any <form> tag is the complete integration.
Yes. The action attribute specifies where the form data is sent (the endpoint URL). The method attribute specifies how to send it — use POST for most forms as it keeps data in the request body and supports longer messages and file uploads.
Fill out the form and submit it yourself. Check your dashboard to see if the submission appears. For a technical check, use the form action tester tool to verify reachability, CORS headers, and POST support without submitting actual data.
A 404 means the endpoint URL is wrong or the server doesn't recognize it. A 405 means the endpoint exists but doesn't allow POST requests. Both usually indicate a misconfigured action attribute or the endpoint doesn't support the content type you're sending. See the troubleshooting guide for debug steps.
Check your spam folder first. Verify the endpoint is configured correctly with your access key. Ensure your email address is verified in the dashboard. If using a custom domain, check DNS settings and SPF/DKIM records for deliverability. See the contact form HTML guide for email troubleshooting.
Simple pricing
Free gives you 500 submissions for $0 — no card, no time limit. Pro is $5/month for 5,000 submissions a month, and Annual is $49/year for 15,000 a month with every Pro feature.
For side projects and indie devs.
Every paid feature, for agencies and growing products.
Every Pro feature with triple the volume — $0.27 per 1,000 at full use.
No credit card required on Free • Cancel anytime • Full pricing and FAQ


