
Get your free splitforms access key
Sign up at splitforms.com, verify your email, and copy your access key from the dashboard. No credit card required.
Contact form · Next.js
Add a free Next.js contact form to your app in three steps — client component or server action, both supported. No API route to maintain, no backend code to ship.

No server, API route, or SDK. Your Next.js form posts straight to one endpoint.
Every submission is emailed to you and saved to a searchable dashboard — spam filtered before it reaches you.
It's your own Next.js markup and styles. Splitforms is only the backend, so nothing constrains how the form looks.
Copy-paste ready
Replace YOUR_ACCESS_KEY with the key from your dashboard — that's the whole integration. No SDK to install, no build step, just the tsx you already write.
"use client";
import { useState } from "react";

export default function ContactForm() {
  const [status, setStatus] = useState<"idle" | "loading" | "ok" | "err">("idle");

  async function handleSubmit(e: React.FormEvent<HTMLFormElement>) {
    e.preventDefault();
    setStatus("loading");
    const formData = new FormData(e.currentTarget);
    formData.append("access_key", "YOUR_ACCESS_KEY");

    const res = await fetch("https://splitforms.com/api/submit", {
      method: "POST",
      body: formData,
    });
    const data = await res.json();
    setStatus(data.success ? "ok" : "err");
    if (data.success) e.currentTarget.reset();
  }

  return (
    <form onSubmit={handleSubmit}>
      <input type="text"  name="name"    required />
      <input type="email" name="email"   required />
      <textarea           name="message" required />
      <input type="checkbox" name="botcheck" style={{ display: "none" }} tabIndex={-1} />
      <button type="submit" disabled={status === "loading"}>
        {status === "loading" ? "Sending…" : "Send"}
      </button>
      {status === "ok"  && <p>Thanks! We'll be in touch.</p>}
      {status === "err" && <p>Something went wrong. Try again?</p>}
    </form>
  );
}
How to add it
To add a contact form to a Next.js website you need three things: a free splitforms access key, the tsx snippet above, and your key pasted into it. No backend, server, or SDK — the form posts to one URL and every submission lands in your inbox and dashboard.
Sign up at splitforms.com, verify your email, and copy your access key from the dashboard. No credit card required.
Copy the Next.js code example into your project and replace YOUR_ACCESS_KEY with the key from step 1.
Submissions arrive in the splitforms dashboard within seconds. Free includes inbox delivery; Pro adds Slack, Discord, Sheets, or any signed webhook URL.
Where submissions go
Every submission is emailed to you and saved to a searchable dashboard — spam filtered before it ever reaches you. Search, export to CSV, or forward it to a webhook or Slack on Pro.

No backend needed
Your Next.js form posts standard FormData to one URL. Splitforms validates the access key, runs the spam classifier, and forwards it to your email — so there's no server, API route, or database for you to build or maintain.

Best practices
The difference between a form that works in the demo and one that survives launch traffic — the production-tested defaults, in priority order.

How SplitForms works
Connect your form, collect every submission, and send data where it needs to go — without building backend infrastructure.

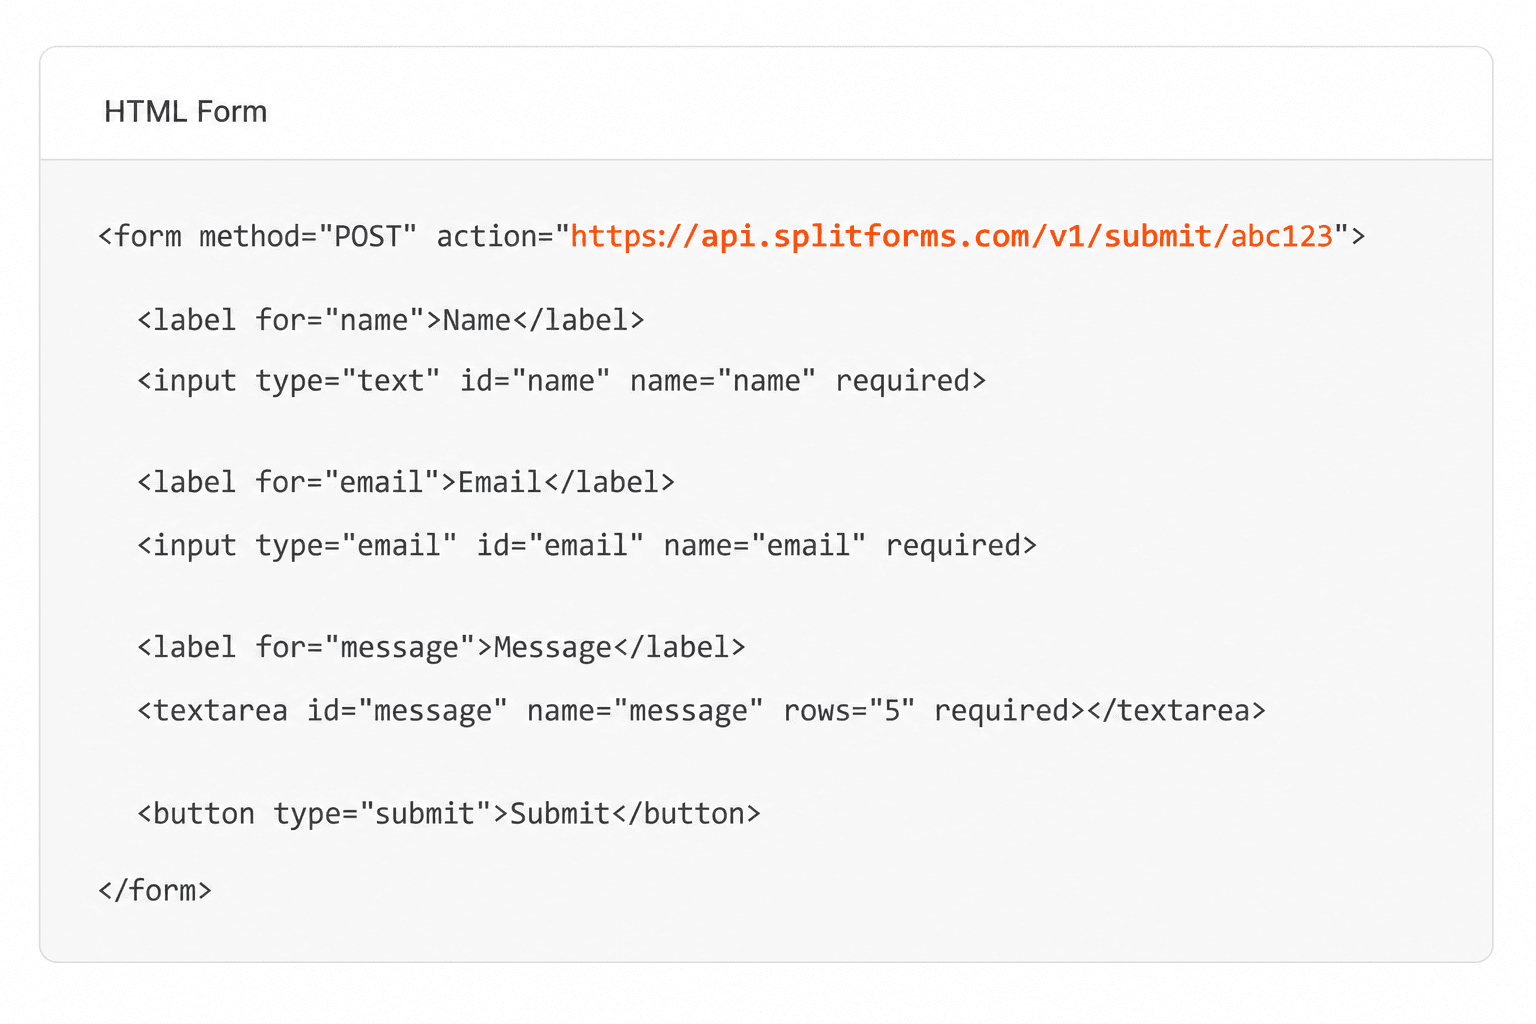
Point your form to your unique SplitForms endpoint. That's it.
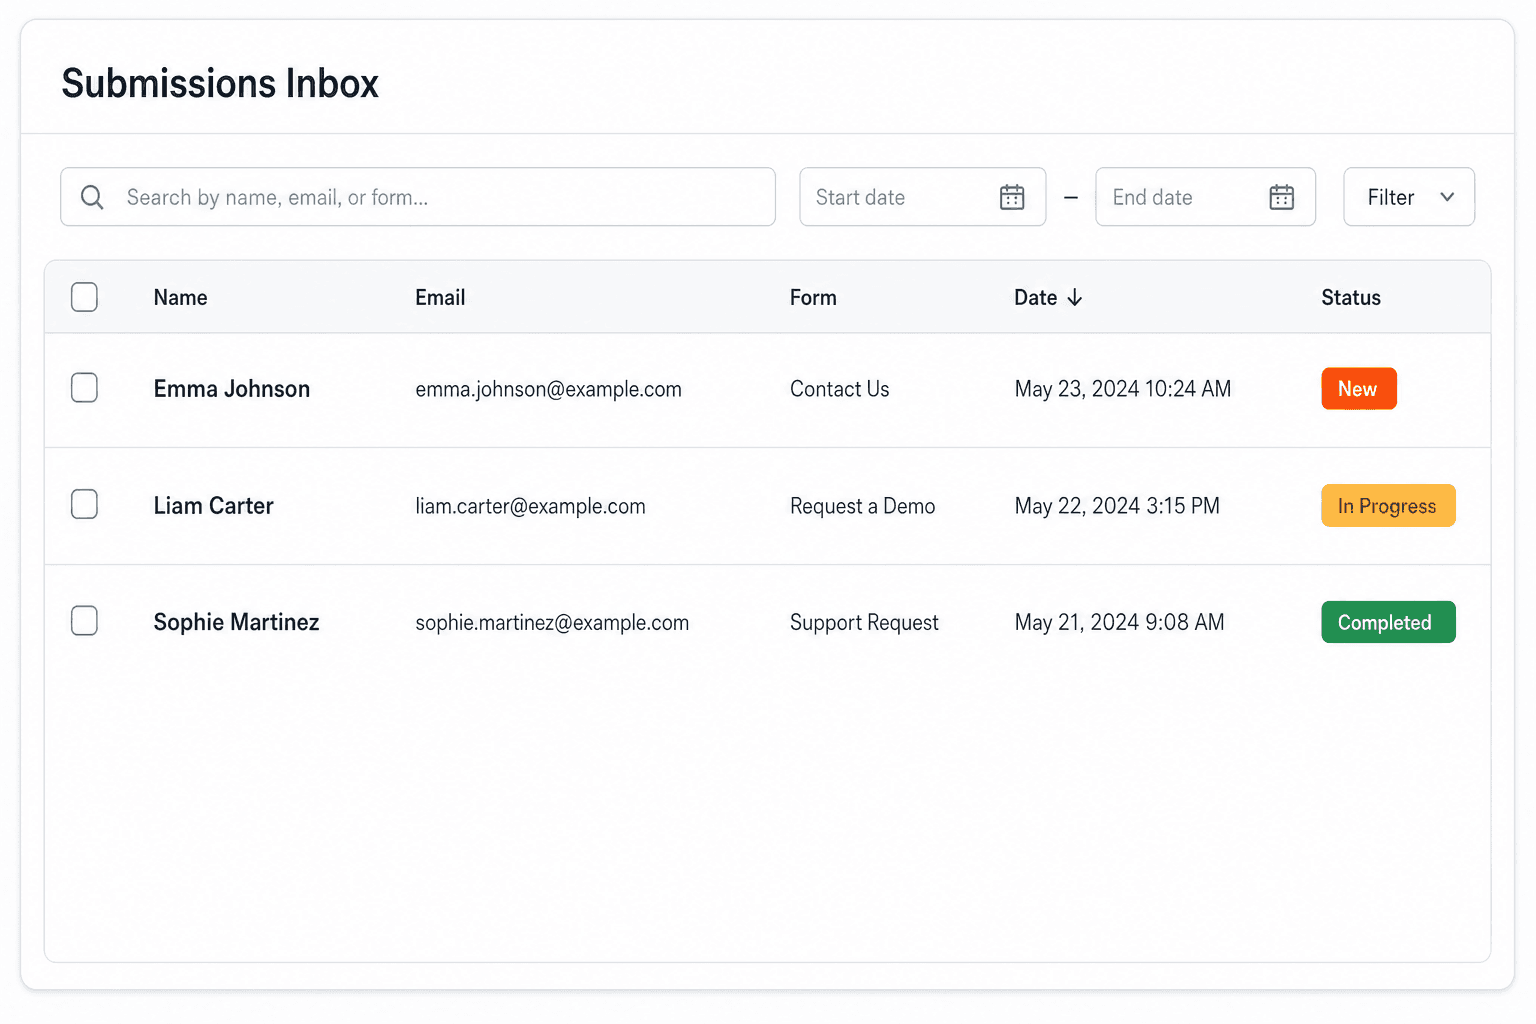
We instantly capture and organize every submission in your inbox.
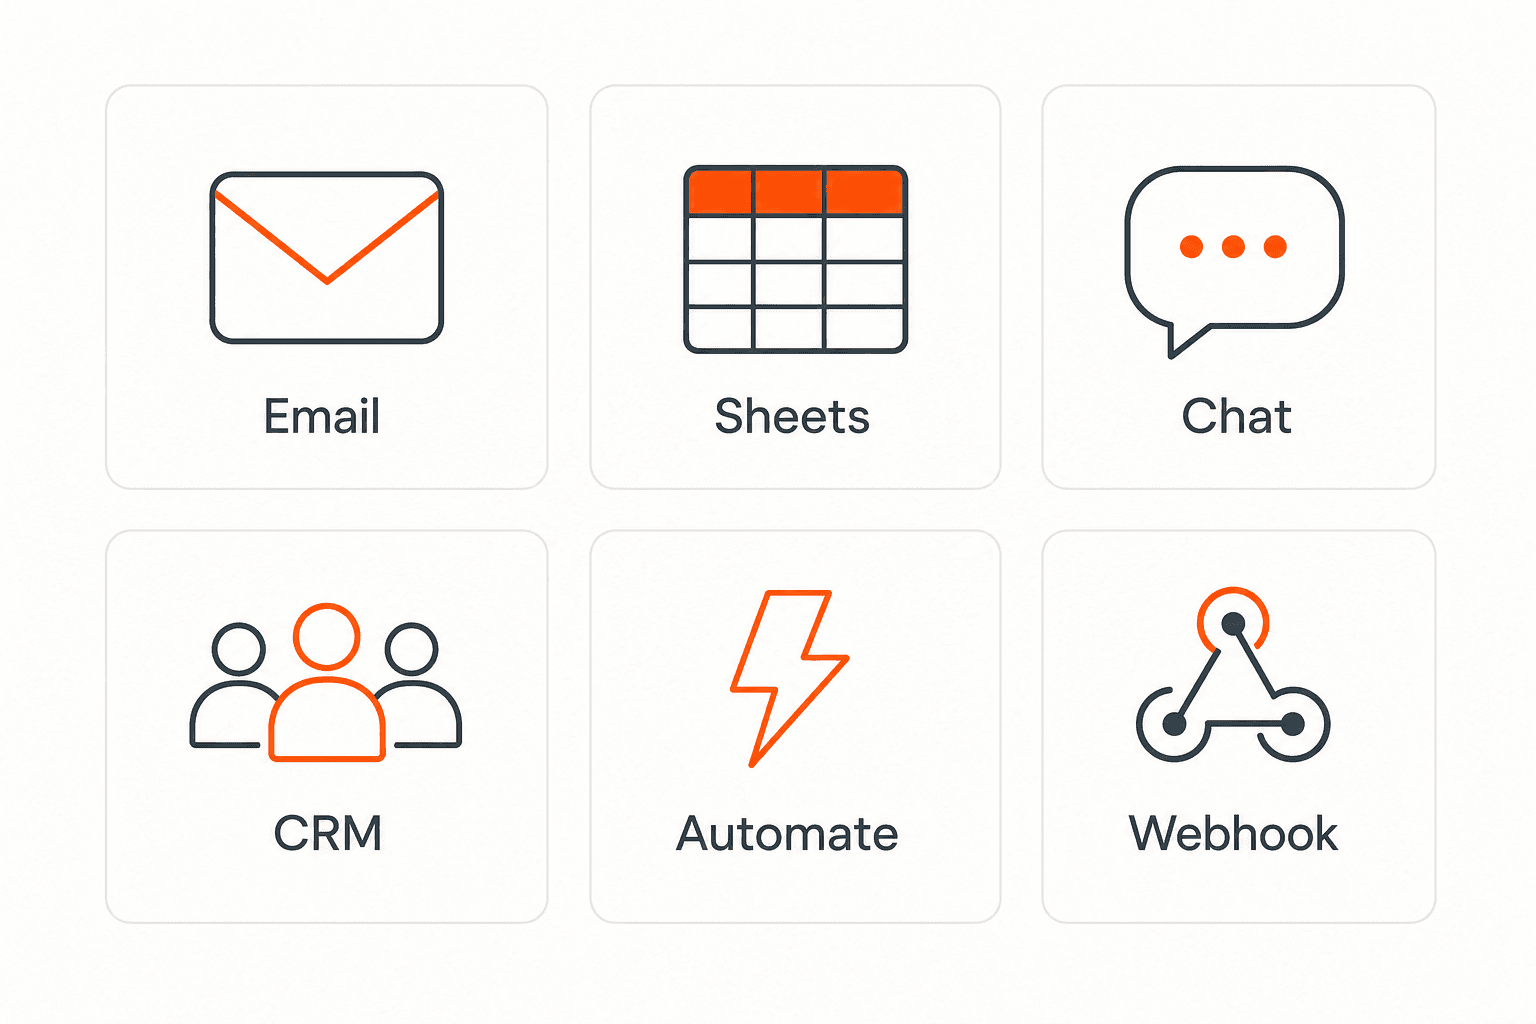
Send data to email, spreadsheets, CRMs, webhooks, and 7,000+ apps.
No credit card required. Set up in under 60 seconds.
Connect & automate
SplitForms works with the destinations you route to and the platforms you build on — from Slack and Sheets to WordPress, Shopify, and Next.js.
Trusted by indie teams and agencies shipping forms worldwide
Testimonials
40 quotes on record — from indie hacks to agency migrations.
“I replaced a Lambda + DynamoDB + SES contact form with six lines of HTML. It took eleven minutes, and the dashboard is better than what I was going to build.”
“We migrated 14 client sites off Formspree in a single weekend. The price is a third of what we paid, the API is more honest, and the spam filter actually works.”
“The webhook payload is signed, idempotent, and well-shaped. It reads like code from a competent team, not a CRUD app held together with duct tape.”
“I stopped reaching for Typeform on small marketing sites. splitforms covers 90% of the use case at none of the bloat.”
“I onboarded our whole agency in an afternoon. The MCP integration meant Cursor literally dropped the form straight into our client repos for us.”
“The free plan gave me 500 submissions before I paid a cent, and Pro is five dollars a month. I've spent more on coffee deciding which backend to use.”
“Spam went from forty junk entries a day to zero, with no reCAPTCHA puzzle ruining the form. The honeypot and time-trap just quietly do their job.”
“Point the form action at one endpoint and you're done. No SDK, no client library, no build step. This is how a form backend should feel.”
“Leads land in Slack the second someone submits, and a copy goes to Google Sheets for the sales team. I wired both up in under ten minutes.”
“I run a static Hugo site on a five-dollar VPS. splitforms gave it a real contact form without me standing up a single server.”
Questions
Yes — App Router is the recommended approach. Use a client component ("use client") with a fetch call, or use a server action that posts FormData to the Splitforms endpoint. Both patterns are documented above.
Yes. The same React component with useState + fetch works identically in pages/contact.tsx. No App Router-specific features required.
Either works. Public env var is simpler and is fine if you've locked the key to your domain in the Splitforms dashboard (Settings → Security → Allowed domains). Keep it server-side via server action if you want maximum opacity — but a leaked-but-domain-locked key is functionally inert anyway.
Yes if you use the server-action pattern, or a plain HTML form action pointing at /api/submit with the thank-you redirect configured in the splitforms dashboard. The fetch-based variant requires JS.
Use a FormData submit path and do not set the Content-Type header yourself. Add enctype="multipart/form-data" for native form submissions or build new FormData(form) in a client component/server action. File uploads require the Storage integration and currently support 5 files per submission at 5 MB each.
Splitforms is API-only — there's no client library to install, just fetch. Your TypeScript code is type-safe naturally. The /api/submit endpoint returns { success: boolean, message?: string } which you can type yourself.
Yes to both. The client-component approach posts from the browser, so it works under output: "export", the App Router, and the Pages Router. The Server Action approach needs a server runtime (Vercel, a Node host) since actions run on the server.
Inlining access_key in a "use client" component makes the key visible to anyone who views source. That's fine if you've enabled allowed-domains in your Splitforms dashboard (Settings → Security) — anyone copying the key from your bundle can't use it from a different origin. If you haven't, use a server action so the key stays on the server.
If you submit to a server action via <form action={myAction}>, Next handles the FormData serialization for you. If you call the action manually with fetch, you have to set the right Content-Type and stringify yourself. Pick one path and stick with it — mixing causes 'Server Action invalid' errors.
If your form reads ?next=/something to support post-submit redirects, useSearchParams forces the page out of static generation. Either wrap the inner component in a <Suspense fallback={<Skeleton/>}> so the wrapper still prerenders, or accept dynamic rendering for the form route only.
If your route handler uses export const runtime = 'edge' and the form posts as multipart (file inputs), it'll silently miss fields. Use application/x-www-form-urlencoded or remove the edge runtime declaration.
React 19 strict mode will warn about onSubmit handlers in server components. Either lift the form into a client component, or use a pure HTML form with a server action and no JS.
If your server action ends with revalidatePath('/contact') to refresh some cached data, Next refetches the route segment and replaces the rendered tree — your client-side status === 'ok' state survives the action call but the surrounding layout re-renders, often closing modals or re-mounting wrappers. Either skip revalidatePath when the contact page itself doesn't need it, or use revalidateTag scoped to the specific data you actually changed (a CRM cache, not the page route). useFormStatus + a tag-based revalidate is the clean combo.
Without splitforms, you'd write a route handler at app/api/contact/route.ts, parse the FormData, configure SMTP via nodemailer or Resend (~10 minutes of secrets wrangling), add a Postgres or SQLite store for submissions, and then bolt on rate limiting, a honeypot check, an email-classifier or reCAPTCHA, and webhook fan-out. Server actions made the wiring slightly tidier in Next 14+, but the operational cost stays the same: a function with a runtime, a database, an outbound email provider, an inbox to monitor, and your name on the spam-filter incident report. Splitforms collapses all of that into a POST to a single URL.
On Vercel, the form works on every plan tier — server actions and client components both run inside the same edge/serverless function. Don't put the splitforms fetch inside a Vercel cron or background function (it's user-facing, latency matters). On Netlify with the Next runtime, server actions need the latest @netlify/plugin-nextjs (≥5.6). For self-hosted / Docker: configure output: 'standalone' in next.config.ts and pass SPLITFORMS_KEY as a runtime env var — never bake it into the image. For static export (output: 'export'), use the client-component path only — server actions aren't supported in static mode.
Simple pricing
Choose a plan that fits your workflow — from a free form endpoint to full automations, exports, and higher submission limits.
Free forever
For side projects and indie devs.
For agencies and growing products.
Pay $59. 3 years sorted.
No credit card required on Free • Cancel anytime


