Datalist vs select
Datalist vs select: which one should you use?
<datalist> gives an <input> a list of suggested values through the input's list attribute; unlike <select>, users can still type any value, and only the input's value is submitted. Use <select> when the answer must be one of your options, and a datalist when the list is a shortcut rather than a rule.
| Difference | <select> | <input list> + <datalist> |
|---|---|---|
| Can users type their own value? | No. The value is always one of the listed options. | Yes. The options are suggestions; the input accepts any value that passes its own validation (MDN). |
| What gets submitted? | name=value for the selected <option>, or its text when it has no value. | name= plus whatever is in the box, typed or picked. The <datalist> adds nothing: the entry list skips every control inside one (WHATWG). |
| How are option labels shown? | Each option's text is shown; its value stays hidden. | It depends on the browser: Firefox shows the label instead of the value, while Chrome and Safari show the value with the label as extra text. Picking one always fills in the value (MDN). |
| Can the dropdown be styled? | The closed box takes CSS. Styling the open list needs customizable select, where the browser supports it. | Only the <input>. CSS can barely reach the suggestion list, so it can't be restyled for high-contrast mode either (MDN). |
| Does it work on mobile? | Yes, in every mobile browser MDN tracks (MDN). | Chrome for Android 33+ and Safari on iOS 12.2+ show suggestions. Firefox for Android is partial: the suggestion dropdown does not appear (MDN). |
| Is it accessible? | A native control with an implicit combobox role, or listbox with multiple or a size above 1 (MDN). | With caveats: the options don't zoom with the page, and some screen reader and browser pairs, including NVDA with Firefox, don't announce the suggestions (MDN). |
| Baseline status | Baseline widely available, across browsers since July 2015 (MDN). | Limited availability, not Baseline: it doesn't work in some of the most widely used browsers (MDN). |
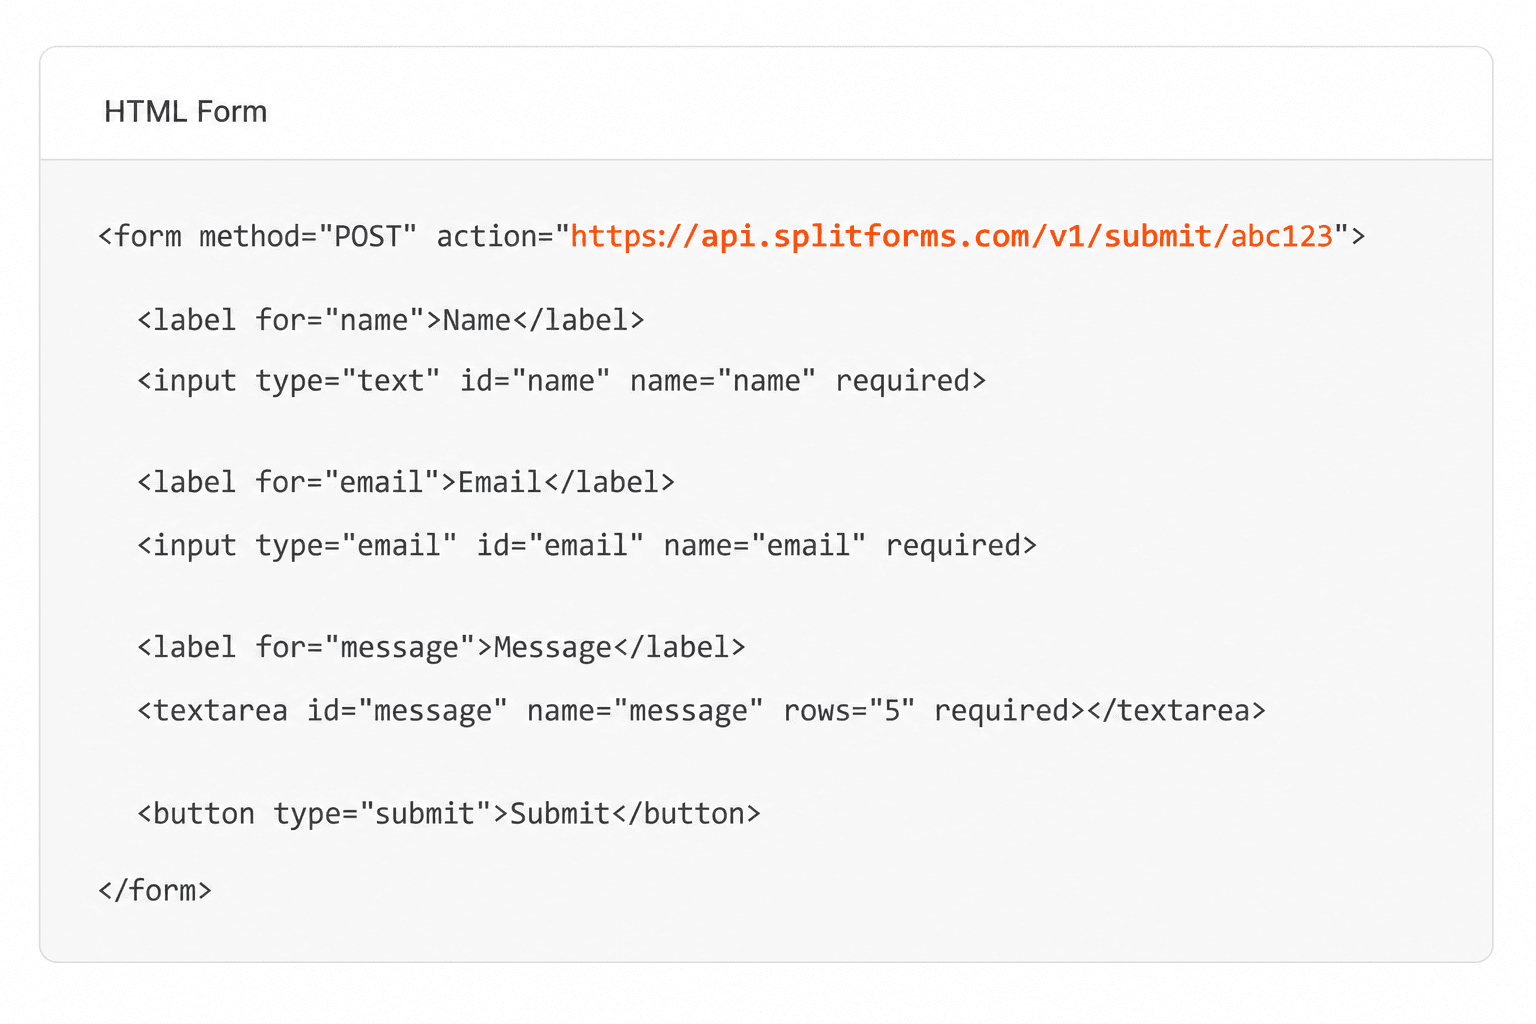
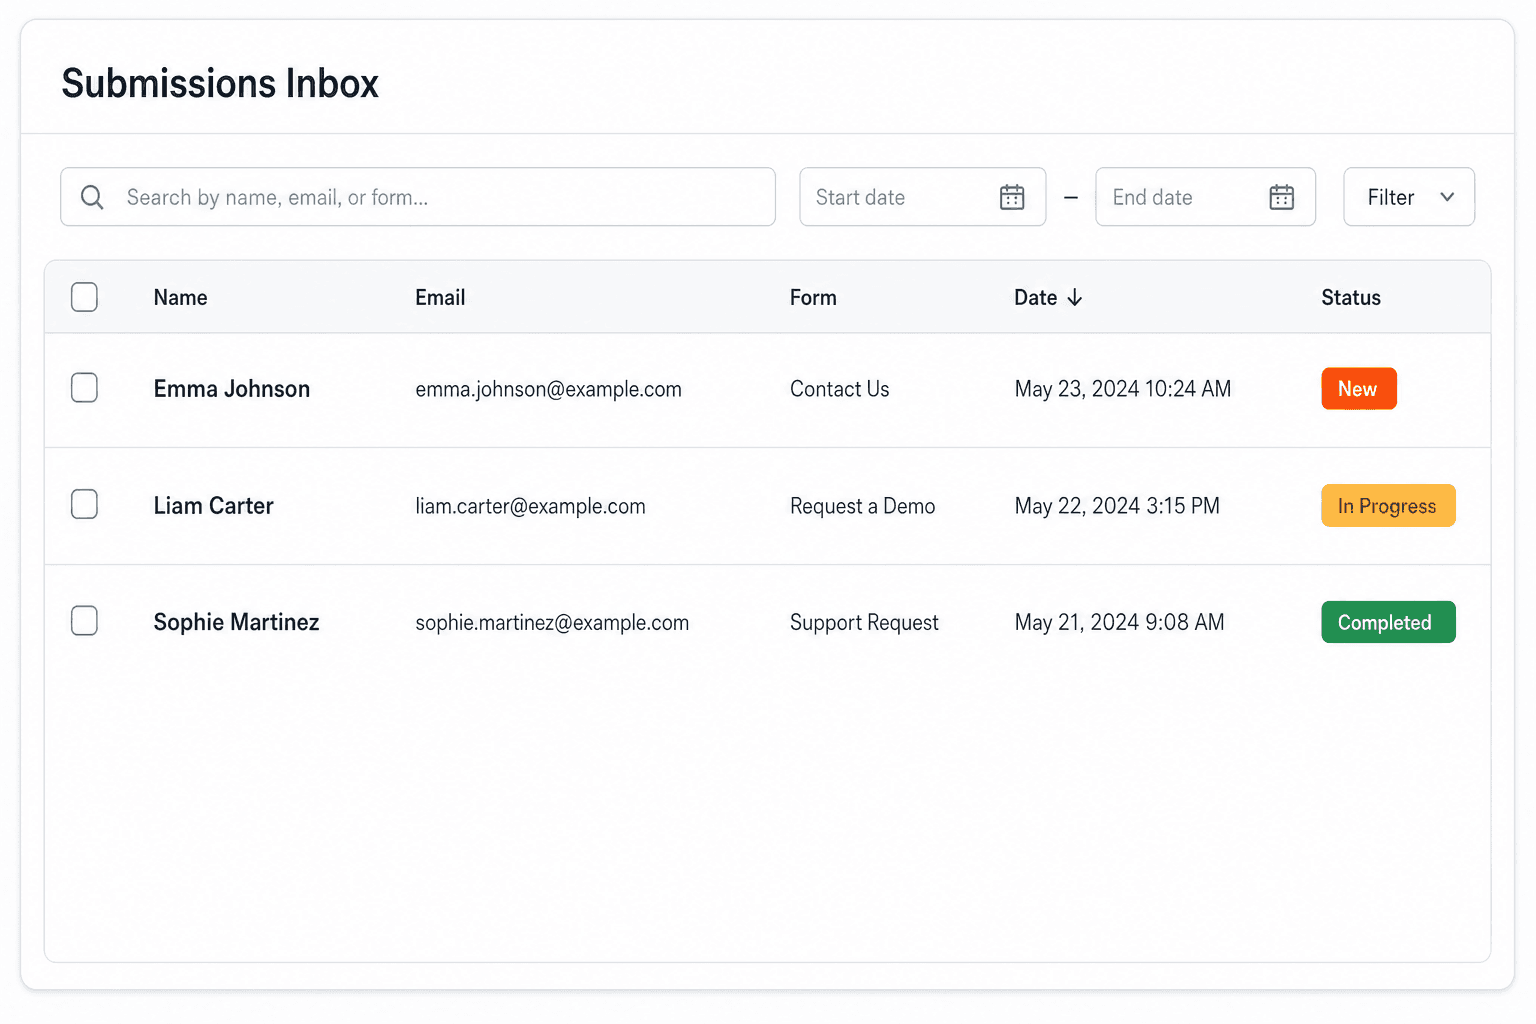
Any value can arrive. A datalist never restricts input, and anyone can POST any text to your endpoint, so treat the field as free text, or use a <select> when only listed values make sense. Whatever the user picks or types arrives in your splitforms dashboard: get a free access key.
Sources: MDN: <datalist> · MDN: <input> list attribute · MDN: <select> · WHATWG HTML Standard: the datalist element · WHATWG HTML Standard: the list attribute · WHATWG HTML Standard: constructing the entry list
list.append(option) · datalist.options.length = 8
The datalist adds no entry of its own: both boxes above list exactly what new FormData(form) holds.
What the dropdown shows
| Browser | Shows |
|---|---|
| Firefox | The label instead of the value: United States |
| Chrome, Safari | The value, with the label as extra text: US, United States |
Either way, picking an option fills the box with its value, so the form sends country_code=US. Typing the label yourself sends the label text instead. Source: MDN usage notes.
A browser without datalist support for a type shows the plain control, and the value is submitted the same way. Support from MDN's compatibility data, checked 2026-10-02.
Whatever the user picks or types arrives in your splitforms dashboard. Get a free access key